Blog
Mower Drive Belt Replacement: A Practical Guide

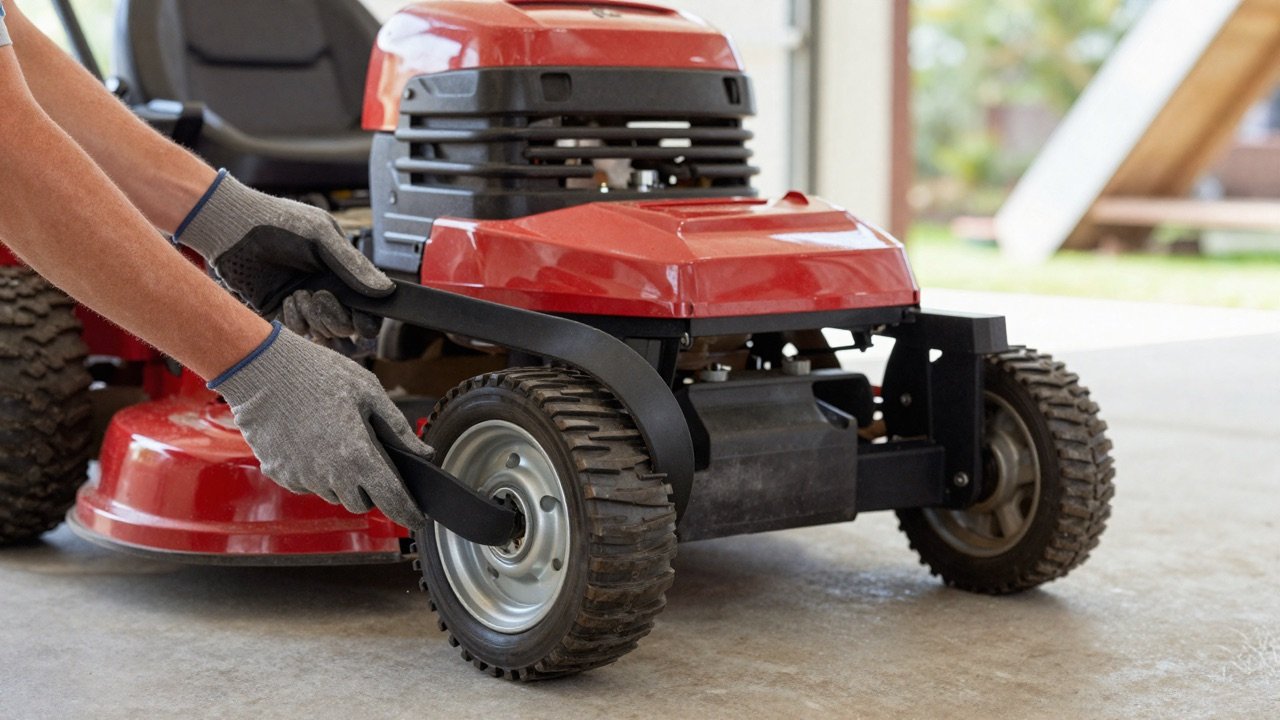
If your mower’s engine roars to life but the machine barely moves, a worn or broken drive belt is usually the culprit. The good news is that a mower drive belt replacement is one of the most satisfying repairs you can tackle in your own driveway, often in under an hour and without a trip to the shop. This practical guide walks you through the warning signs, the tools you’ll need, and a clear step-by-step process so you can get back to cutting grass with confidence.
What the Drive Belt Actually Does
Before diving into the swap, it helps to understand the part. The drive belt transfers power from the engine crankshaft to the transmission, which is what actually moves your mower forward and back. It is different from the deck belt (sometimes called the blade belt), which spins the cutting blades. Mixing the two up is the most common mistake, so always confirm which belt is giving you trouble.
- Drive belt: moves the machine, runs from the engine pulley to the transaxle or transmission.
- Deck belt: spins the blades, runs from the engine pulley out to the spindle pulleys.
On riding mowers and zero-turn machines, the drive belt typically sits underneath, routed through a series of idler pulleys that keep it tensioned and tracking properly.
Signs You Need a Mower Drive Belt Replacement
Belts wear gradually, then fail suddenly. Catching the early warning signs saves you from getting stranded mid-lawn. Watch for these symptoms:
- Loss of drive power: the engine runs fine but the mower is sluggish or won’t move at all.
- Slipping on hills or in tall grass: the mower hesitates when it has to work harder.
- Squealing or chirping noises: a glazed or loose belt can squeal under load.
- Burning rubber smell: friction from a slipping belt produces a distinct odor.
- Visible damage: cracks, fraying, glazing (a shiny hardened surface), or chunks missing from the belt.
If you spot any of these, inspect the belt right away. A belt that snaps while you’re mowing can sometimes whip into other components and cause secondary damage, so it’s worth staying ahead of the problem.
Tools and Parts You’ll Need
One of the reasons this job is so beginner-friendly is that it requires only basic hand tools. Gather these before you start so you’re not crawling back and forth:
- A new drive belt that matches your make, model, and serial number (this is critical, more on that below).
- A socket and ratchet set, plus a few open-end wrenches.
- A spring puller or sturdy pliers for releasing the tensioner spring.
- Work gloves and safety glasses.
- A car ramp set or jack stands if you need to lift the deck for access.
- Your owner’s manual or a printed belt-routing diagram.
Getting the Right Belt the First Time
Belts are sized precisely. A belt that’s even a half-inch too long will slip; one too short won’t install. Always match the part by your mower’s model and serial number rather than guessing by appearance, since two belts can look nearly identical but differ in length, width, and cord construction. If you’re unsure which belt fits your machine, our team is happy to help you confirm the correct part before you order. Browse replacement belts and parts in our shop, or reach out through our contact page with your model number.
Step-by-Step Drive Belt Replacement
Work on a flat, level surface and give yourself room to move. The steps below cover a typical riding mower; zero-turns are similar but may use a slightly different idler arrangement.
1. Prep and Safety First
Turn the engine off, remove the ignition key, and disconnect the spark plug wire so the engine cannot start. Let the engine and exhaust cool completely. Engage the parking brake and chock the wheels.
2. Photograph the Belt Routing
Before you remove anything, take several clear photos of how the belt wraps around each pulley and idler. This single step prevents the most frustrating part of the job, reinstalling the new belt correctly. Note which side of the idler the belt rides on.
3. Relieve Belt Tension
Locate the spring-loaded idler pulley. Using your spring puller or pliers, carefully release the tension spring. Keep your fingers clear, these springs hold real force. With the tension off, the belt should loosen enough to slip free.
4. Remove the Old Belt
Work the belt off each pulley one at a time, following the reverse of your photographed path. You may need to remove a belt keeper or guard. On some models you’ll need to lower or remove the mower deck for clearance. Compare the old belt to your new one side by side to confirm they match exactly.
5. Install the New Belt
Route the new belt using your photos as a reference. Make sure it sits properly in every pulley groove and on the correct side of each idler. A belt that jumps a pulley groove will fail fast.
6. Restore Tension and Reassemble
Reconnect the tensioner spring, reinstall any belt keepers, guards, or the deck, and double-check your routing one final time. Spin the pulleys by hand if you can to confirm the belt tracks smoothly.
7. Test Carefully
Reconnect the spark plug wire, start the engine, and engage the drive at low speed in an open area. Listen for squealing and watch that the belt runs true. If everything looks and sounds right, you’re done.
Tips to Make Your New Belt Last
A little maintenance goes a long way toward stretching the life of a fresh belt:
- Keep pulleys clean and free of grass buildup, which causes glazing and slip.
- Check idler pulleys for wear or wobble and replace any that don’t spin freely.
- Avoid sudden speed changes that shock-load the belt.
- Inspect the belt at the start of each mowing season and after heavy use.
- Always use a belt rated for your specific machine rather than a generic substitute.
Frequently Asked Questions
How long does a mower drive belt last?
Most drive belts last several seasons, often three to five years for a homeowner mowing an average yard. Heavy use, hilly terrain, dirty pulleys, and tall or wet grass all shorten that lifespan. Inspect yearly and replace at the first sign of cracking or glazing.
Can I replace a mower drive belt myself?
Yes. With basic hand tools, a matching belt, and an hour of time, most people can handle a drive belt replacement at home. The key is photographing the belt routing before removal and carefully relieving spring tension. If your model requires deep disassembly, the owner’s manual will guide you.
What’s the difference between a drive belt and a deck belt?
The drive belt powers the wheels and moves the mower, while the deck belt spins the cutting blades. If your mower cuts grass but won’t move, suspect the drive belt. If it moves but the blades won’t engage, the deck belt is more likely the issue.
How do I know which belt fits my mower?
Match the belt by your mower’s model and serial number, not by appearance. Two belts can look alike but differ in length and width. Check our FAQ for help locating your model number, or send it to us and we’ll confirm the right part for you.
Get Rolling Again
A drive belt is a small part with a big job, and replacing it is one of the most rewarding fixes a mower owner can do. With the right belt and an hour of patience, you’ll save money and avoid downtime during peak mowing season. Ready to order the correct part? Browse our selection of mower belts and parts, and if you need a hand matching your model, our real-person support team is always glad to help, just reach out through our contact page.